I love homemade pies, but making pie dough from scratch? Not so much. It’s messy, requires precision, and takes up half the kitchen, so I only make it in big batches. That said, when I do, I nail it and make enough to last for months.
I usually make a batch before Thanksgiving and use the last crust to make a quiche for easter. Then I’m back at it for strawberry-rhubarb season, with enough dough tucked away to carry me through summer pies. Call it my pie-annual tradition.
The best part? This All-Butter Pie Dough freezes beautifully. The big-batch recipe makes four to five large pie crusts (enough for four deep dish pies or two double-crust pies with some leftover), but it is also very easy to scale up or down. Wrap it well, and it’ll keep in the freezer for up to six months—just long enough to forget the hassle and be ready to do it again.
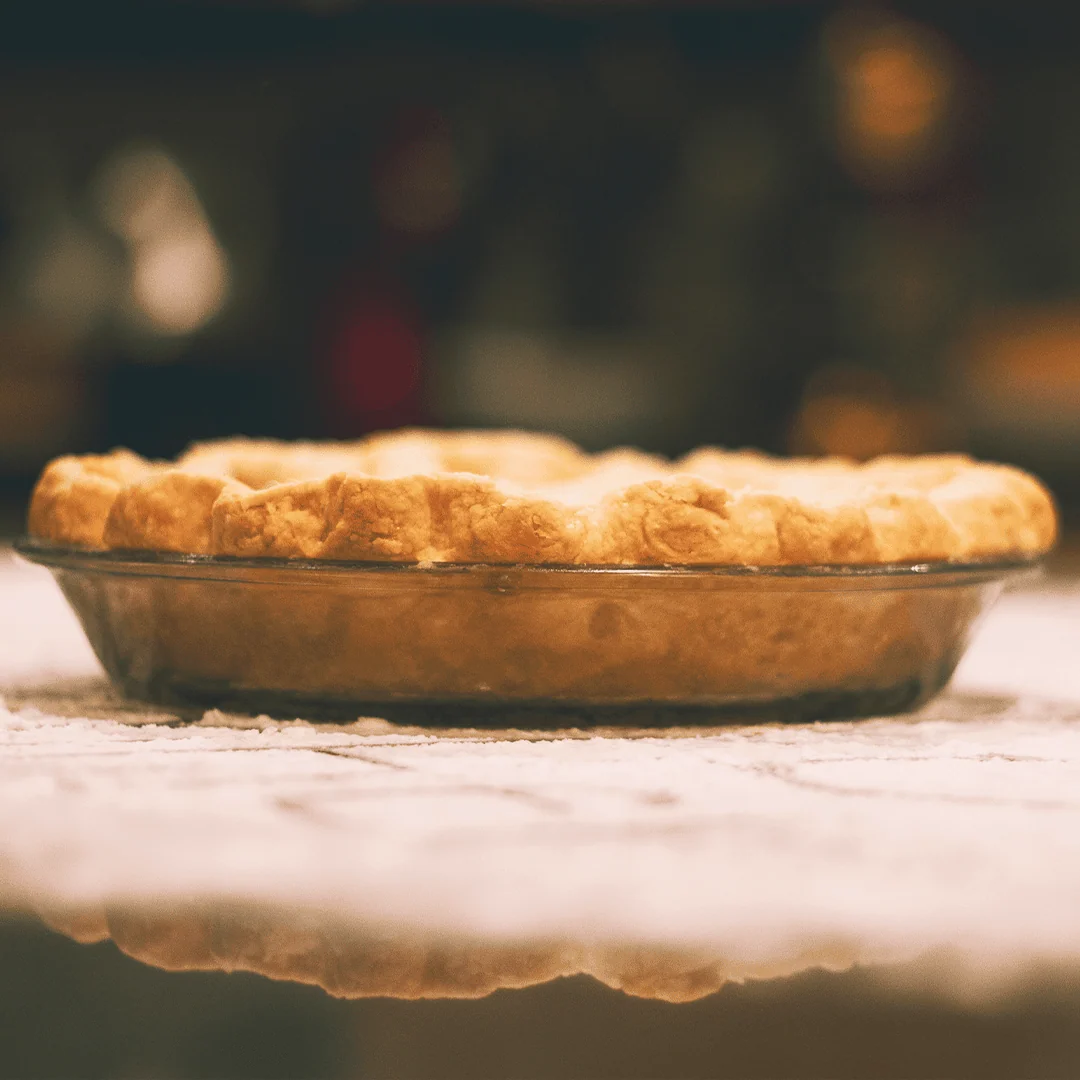
Here’s how I create pie dough that achieves the perfect balance: The most tender, flaky pie crust you’ve ever had, yet sturdy enough to lift right out of the dish when baked and cooled. Follow my tips and tricks a few times, and you’ll be just as confident!

Common Mistakes When Making Homemade Pie Dough
Pie dough is simple in theory, but a few easy mistakes can lead to tough, greasy, or just plain sad crust. That’s why many folks reach for store-bought, even though those pre-made sheets are often too small and even trickier to work with. Luckily, homemade dough is totally doable if you avoid these common mistakes:
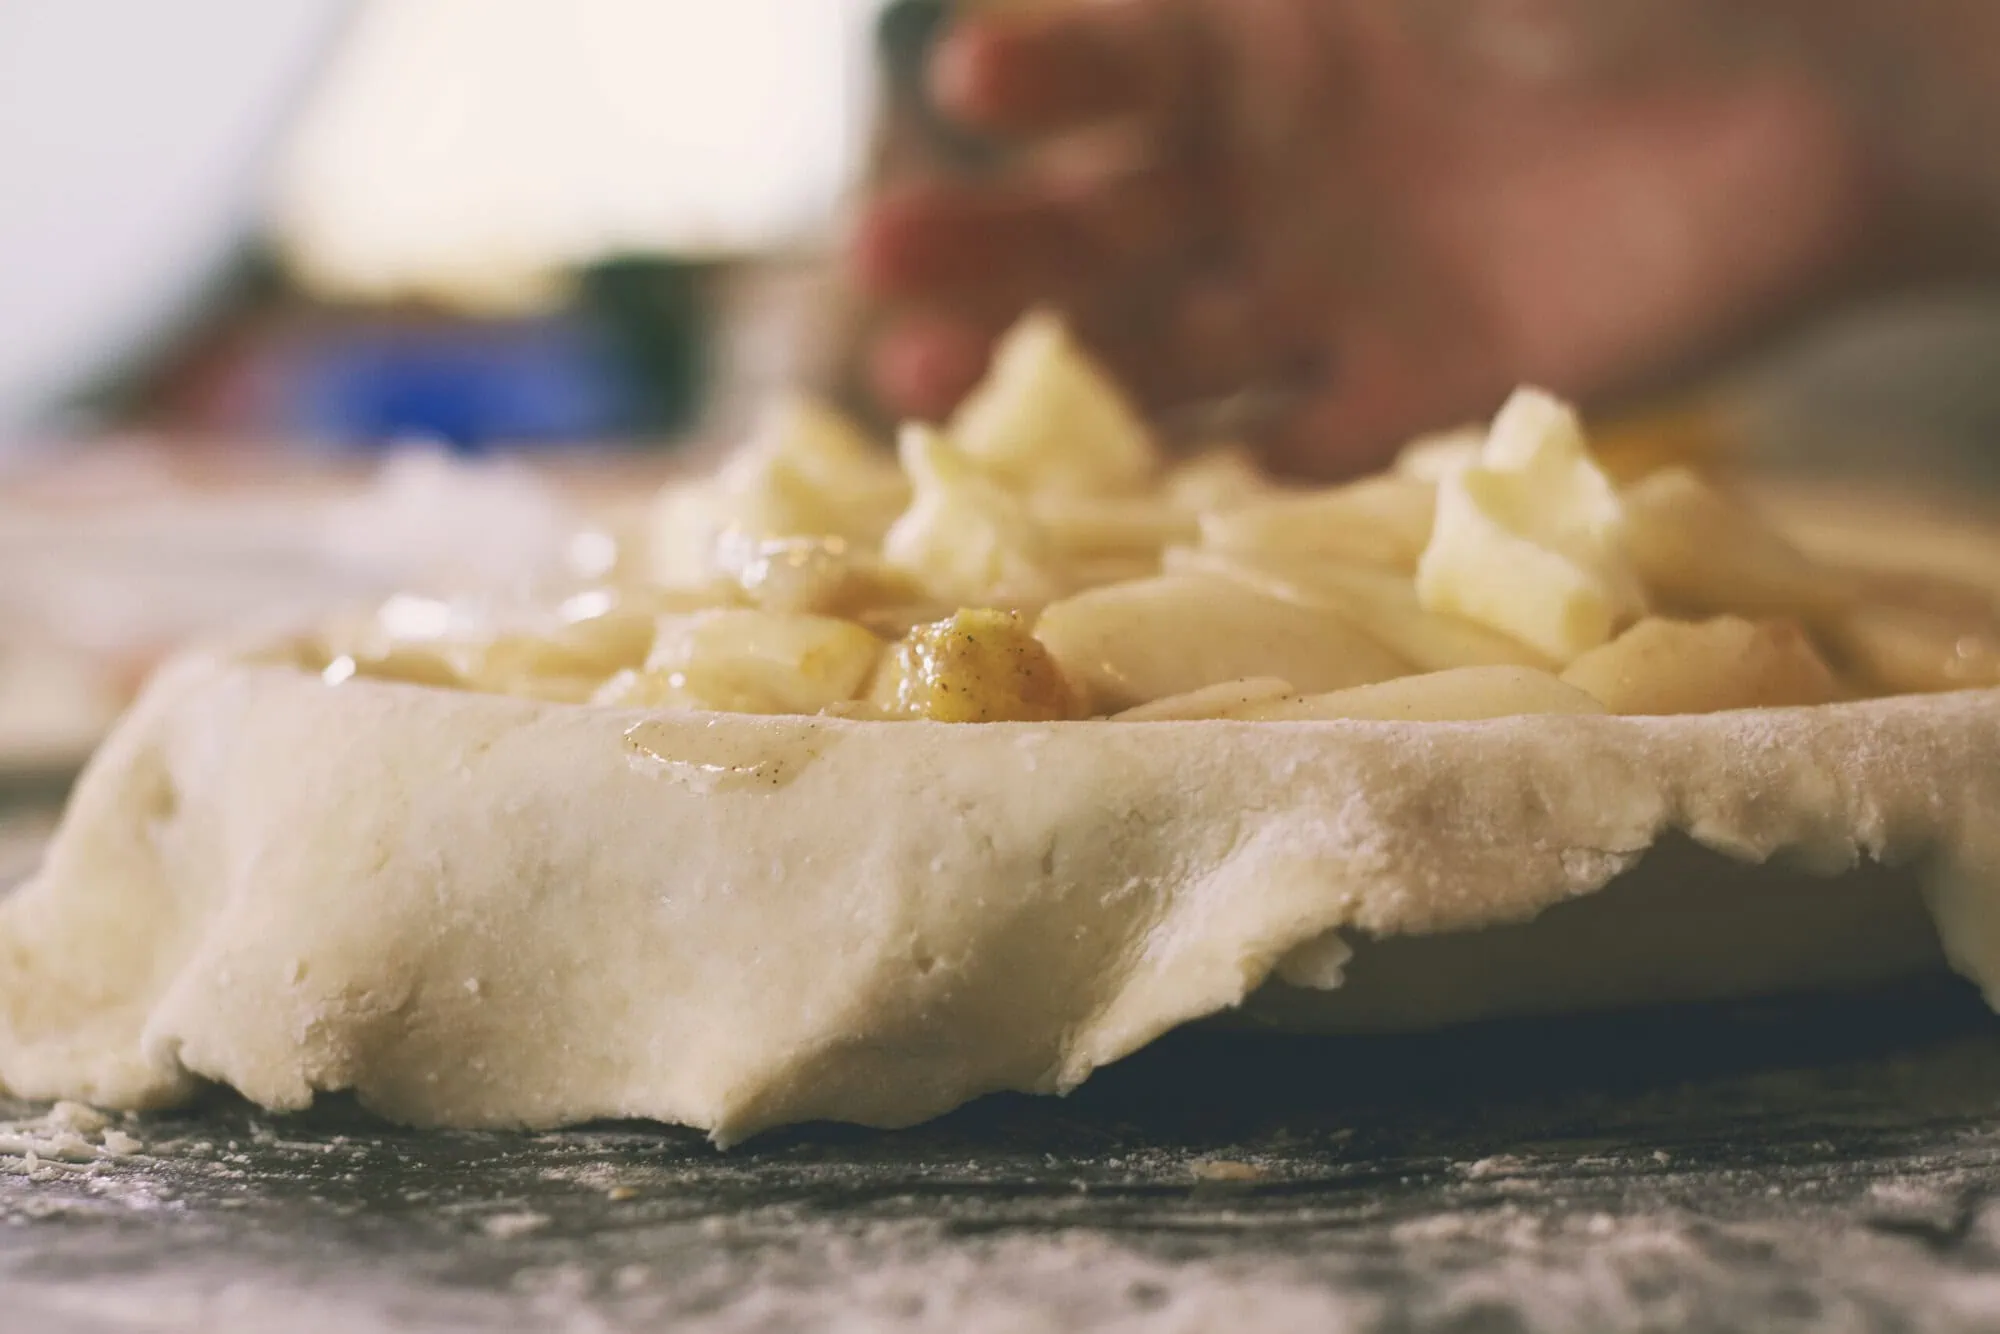
- Allowing the butter to melt at any point is crucial: Cold butter is everything in pie dough. Whether you work fast or slow, your goal is the same: keep that butter cold and intact. Use ice water, chill between steps, and if the dough ever feels greasy, stop and refrigerate. Remember, this isn’t a race—melted butter means no flake.
- Using too much water: Less is more here. Even if the dough looks a little crumbly, that’s what you want! Too much water leads to sticky, stretchy dough that bakes up tough, dry, and cracker-like. It also throws off the bake time, giving you burnt edges and a soggy bottom. Trust the process! The water will fully hydrate the flour, and all the ingredients will come together after chilling. I promise. It’s basically magic (although, technically, science).
- Mismeasuring the flour (and overusing it later): Nailing the right flour ratio is key, and it starts with using a scale. But don’t stop there—go easy on the flour when rolling out the dough, too. Adding extra flour doesn’t help “fix” stickiness; instead, it can make the dough even more challenging to work with and will dry it out in the process.
- Overworking the dough: With pie dough, less is more. The more you mess with it, the more the gluten develops—and that means no flakiness, no tenderness, and dough that pulls away from the sides of the dish as it bakes. A good rule of thumb?
“Roll it once and you’re a pie queen.
Roll it twice? We’ll allow it.
Roll it more than that? Girl, you’re making a cracker.”

Do You Really Need to Let Pie Dough Chill Before Rolling It Out?
Yes—don’t skip it. Resting pie dough in the fridge sets you up for success and serves three key purposes:
- Hydration – The flour fully absorbs the water while it chills, transforming crumbly dough into a smooth, rollable dream.
- Re-solidified Butter – Cold butter = steam = flaky layers. Let it firm back up before rolling.
- Relaxed Gluten – Resting reduces elasticity, so the dough rolls out easily and bakes up tender (without shrinking in the oven).

Pastry Equipment for Bakery-Quality Pie Dough at Home
You don’t need fancy gear to make great pie dough, but a few key tools can seriously level up your results. Here’s what I recommend:
1. A Digital Kitchen Scale
One of the most common mistakes in pie dough is mismeasuring the flour. A kitchen scale removes all guesswork and helps you hit the perfect ratios every time. Plus, it’s excellent for dividing dough evenly, so you always have enough when you roll it out!
- Pro Tip #1: Choose a scale that measures up to at least 5 pounds (or 10 for extra versatility).
- Pro Tip #2: Cover your scale with plastic wrap to keep it clean. (Use the same wrap for your dough discs!)
- Pro Tip #3: Use the TARE button before and after placing the bowl for measuring ingredients on the scale; this ensures an accurate read by subtracting the bowl’s weight from the ingredients within it. I also like to jot down the bowl’s weight as a contingency if I mess up and need to do some math!
2. Extra-Large Silicone Mat with Measurement Guides
This “non-stick” surface gives you room to work while minimizing the extra flour that can dry out dough. To easily transfer dough to the buttered pie dish, flip the mat dough-side down and carefully peel it off—clean, easy, and tear-free! Bonus: If your dough gets sticky when rolling out, you can easily pop the whole mat in the fridge or freezer to re-chill.
- Pro Tip #1: Use the printed guides to roll the dough to the correct size. Measure your pie plate’s diameter and add 2–3 inches to account for the depth of the pie plate. This will create enough overhang to fold over and make a nice, clean edge.
- Pro Tip #2: To easily transfer dough to the buttered pie dish, flip the mat dough-side down and carefully peel it off—clean, easy, and tear-free! Bonus: If your dough gets sticky when rolling out, you can easily pop the whole mat in the fridge or freezer to re-chill.
3. Stainless Steel Bench Scraper
This tool is a lifesaver for pie dough. It lifts stuck dough cleanly, reduces waste, and makes cubing cold butter quick and tidy. It’s cheap, simple, and versatile.
4. French Rolling Pin
Unlike traditional pins with handles, a French rolling pin is longer, tapered, and easier to maneuver for large dough rounds. Once you use one, you’ll never go back.
- Pro Tip: Always clean rolling pins with a damp rag —excess water, even from the sink, can cause a wooden rolling pin to crack.
5. Disposable Gloves
If you’re in the kitchen often, single-use gloves are great for all sorts of things (like safely preparing food for people outside your family or working with raw meat!). But in this case, they’re an excellent way to keep pie dough out from under your fingernails, all stuck to your hands, and out of your sink/pipes (flour + water = glue). They also help displace some body heat, which causes your butter to melt faster.
All-Butter Pie Dough
PREP TIME: 45 minutes
RESTING TIME: 1 hour
TOTAL TIME: 1 hour, 45 minutes
YIELD: 8 lbs. of uncooked pie dough (Makes about 6 lbs. of raw pie dough, enough for 4-5 single-crust pies or two double-crust pies)
The big-batch recipe for All-Butter Pie Dough makes the most tender, flaky pie dough you’ve ever tasted! It’s easy to scale and freezes well, so you will always have some on hand to whip up delicious homemade pies with the best seasonal, farm-fresh ingredients.
INGREDIENTS
- 1 1/2 lbs. of unsalted butter, very cold but not frozen (6 sticks)
- 2 lbs. of All-Purpose flour (about 8 cups)
- 1/4 cup of white sugar (38 grams)
- 1 Tablespoon of baking powder (14 grams)
- 1 Tablespoon of salt (18 grams)
- 1 1/2 cups of ice water (356 grams)
- 1-2 teaspoons All-Purpose flour, for dusting your workstation and rolling out the dough

RECIPE BY: MARION KIRKPATRICK
Love this recipe? You can find more farm family favorites over in the FarmHER Kitchen!
COOKING INSTRUCTIONS
- Cut the very cold (but not frozen!) butter into tiny cubes (I usually cut each stick into 8-10 pieces and then quarter each square.) Chill in the fridge or freezer while you prep everything else. The smaller the pieces, the less work your fingers will have for Step #3.
- Whisk together three pounds of flour, sugar, baking powder, and salt in a large mixing bowl. Add chilled butter and toss to coat.
- Use your fingers to press the butter into the flour, squishing each little cube flat. Keep tossing the mixture to ensure you get larger butter pieces that sink to the bottom of the bowl. Stop when the mixture resembles coarse crumbs that are pea-sized or smaller. If the butter feels greasy or extremely soft, pop the bowl into the fridge to chill for five minutes before continuing. This can happen easily if you have “hot hands” or if your kitchen runs warm. You can also do this if your fingers are tired and need a little break!
- Pour one-third of the ice-cold water (avoiding the actual ice), mixing gently with your hands. Repeat until the dough barely comes together in clumps, stopping before it turns sticky. Crumbly is okay! The dough will hydrate more as it rests, so you may not need all the water.
- Lightly flour your hands and workspace with about a teaspoon of additional flour, using as little as possible to keep the dough from sticking to the surface as you work. Turn out the dough on the floured surface.
- Knead the dough gently for 1–2 minutes, using a bench scraper to gather loose or sticky bits, until the dough holds together in large clumps.
- Place a piece of plastic wrap on your kitchen scale and weigh out four to five equal piles of dough, about 1.3 pounds each (you may have some leftover!). Fold each edge of the plastic wrap over the dough to secure it loosely and transfer it back to your workstation.
- Press down on each ball of dough inside the plastic wrap to form it into a disc (~6” wide, 2–3” thick) using your hands or a rolling pin. Flip the disc seam-side down and rewrap it tightly with more plastic or foil. Label each disc with a date and weight.
- Refrigerate dough for at least 1 hour (or 30 minutes minimum). To freeze: Wrap well and store for up to 6 months. To use from frozen, thaw each disc of dough in the fridge for at least 3–6 hours, or ideally overnight. Never thaw on the counter or let the dough sit out for an extended period; it’s too risky for the butter!
- Ready to roll? You’ll know your dough is thawed enough to roll out by gently pressing down on it with one finger. When pressed, the dough should give slightly but still be firm and cold to the touch. If it squishes under gentle pressure, pop it back in the fridge for 10 minutes and try again.
Do you have a special family recipe to share with us? Submit a Recipe to the FarmHER Kitchen for a chance to be featured!